About us
SMT Designs is a small company that I started to offer rocketry, electronics, photography, and software products. The name is simply my initials and what I do best. I have many years of experience in a variety of fields. I am an electronics engineer that can design hardware and write software for embedded platforms. From concept, to prototype creation, to machining parts for whatever is being designed.
Of note -
The company is registered in the state of Washington and sales tax will be applied to any in-state sales. You may have heard about the Surpeme Court's decision, but until other states put in place whatever new laws they decide on, out-of-state sales tax is up to the purchaser and will not be collected by SMT Designs until it is required.
On to a better topic -
I strive to maintain a high standard of quality in everything I produce. My love of rocketry led me to create a series of components to make life easier when building rockets that include electronics.
Thank you!
Sincerely,
Steve Thatcher
And a bit more information...
Rocketry
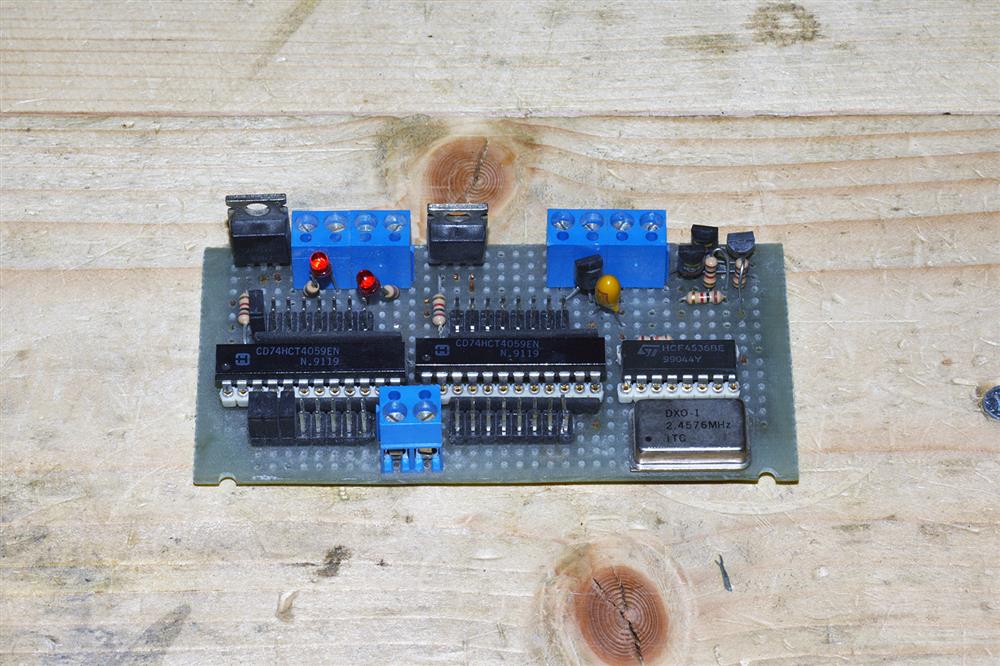
The products are the result of over twenty-five years of rocketry and a life long career as an electronics design engineer. One of the first things I designed for rocketry was the Veri-Fire launch controller back in 1991 because of copper head igniters. Back then I was part owner of Impulse Aerospace who sold the launch controller (in case you are as old as me). If you want to read a bit of history, then comtinue with the January 2002 issue of the Washington Aerospace Newsletter (pdf) that includes an article I wrote about the Monroe, Washington launch site.
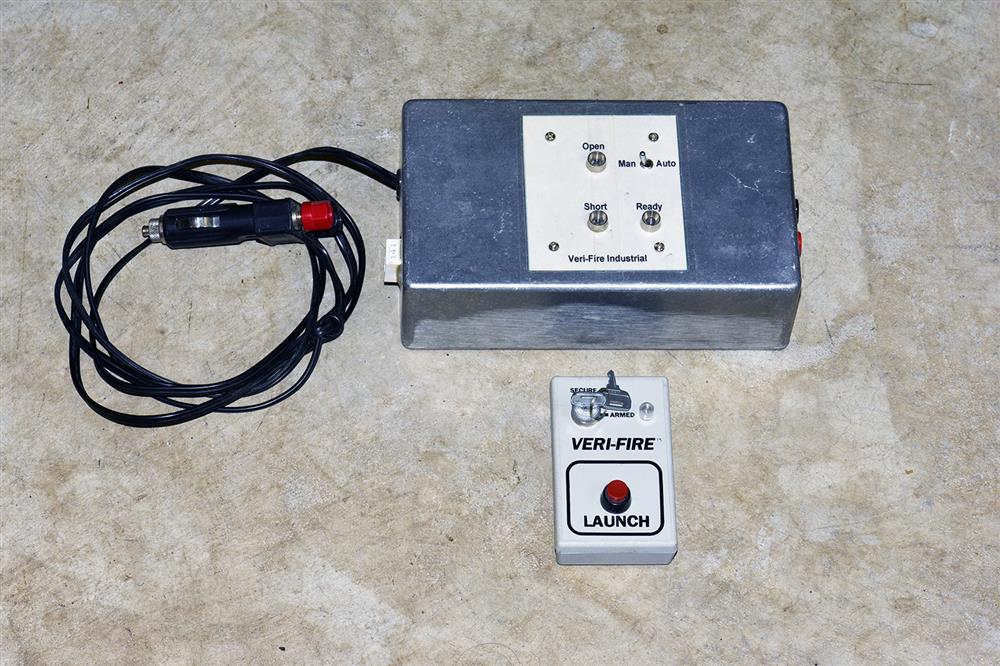
Below is a photo of what I have used through the years for GSE (ground support equipment). The handheld is original and I moved the electronics from a Veri-Fire I had kept into an aluminum housing. In fact, I just used it earlier this year helping a friend test deployment charges for his L3 certification flight.
When I started doing electronics in rockets (early 90s), it was certainly in its infancy and expensive by today's standards. My very first electronics for a rocket was a staging timer that I designed.
The first commercial altimeter I used was the Co-Pilot that was sold by Public Missiles Limited with their CPR3000 system in a Mini-BBX circa 2000. I liked the modularity of the CPR3000, but there was always too much to do in the field. Match wires had to be fed through holes and an external switch had to be connected every time you setup for the next flight. I decided early on that I would work on my own design scheme for e-bays and modular electronics.
I incorporated those ideas into a rocket fondly called BOO... (Bat Out Of...). BOO version 1 was probably around 2000 and now we are at BOO version 6 (circa 2010). The rocket has been rebuilt a couple of times over the years. The first version was all phenolic tubing and an ACME fin can. When the BOO 2 or 3 broke above the fincan on a launch, I repaired it using a PML CPR3000 coupler and left the "new" booster section in phenolic with the threaded part of the PML coupler flush with the fincan. The mating coupler was installed in Blue Tube that has held up for all of these years. I have to say that I am slightly amused by the photo below. I recall epoxying the PML launch lugs on the rocket (replacing the old ACME aluminum lugs) and then realized that the lugs weren't far enough out to clear the fincan. As you can see, I "solved" the problem by using a rail button on that lug and a lug farther up. It is a reminder to me to try and always have a big picture view when I am working in the trenches.
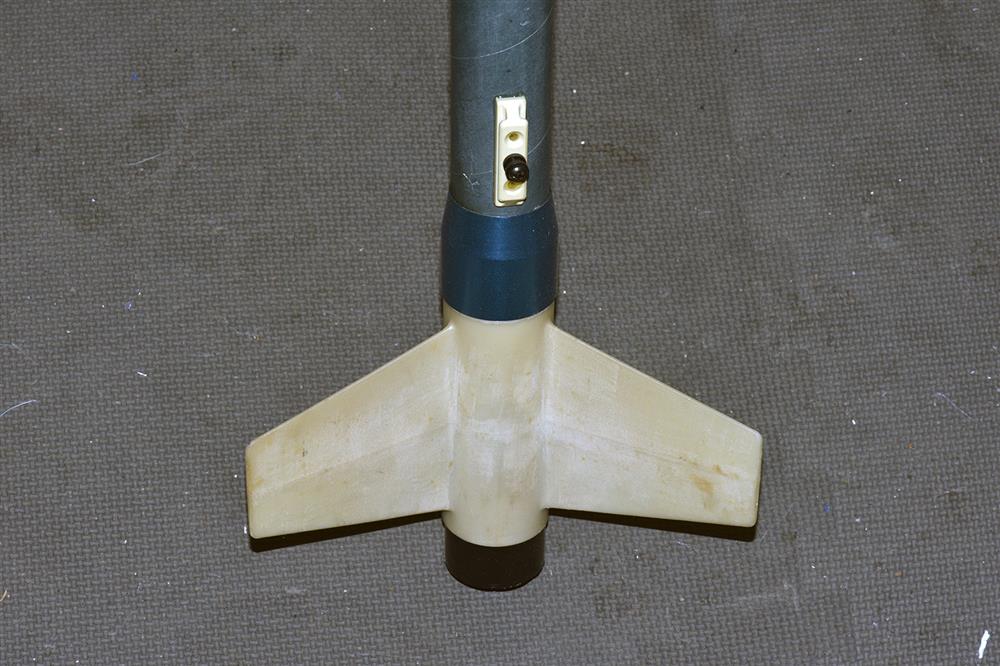
BOO 6 still flies with a PerfectFlite altimeter and a newer Blue Tube bay. It is a 38mm minimum diameter rocket capable of being flown on a 1080ns case with a J570. It was the first completely re-useable e-bay design that I did. You can go ahead and mount the dual deploy electronics bay in any rocket with a 38mm body tube center.
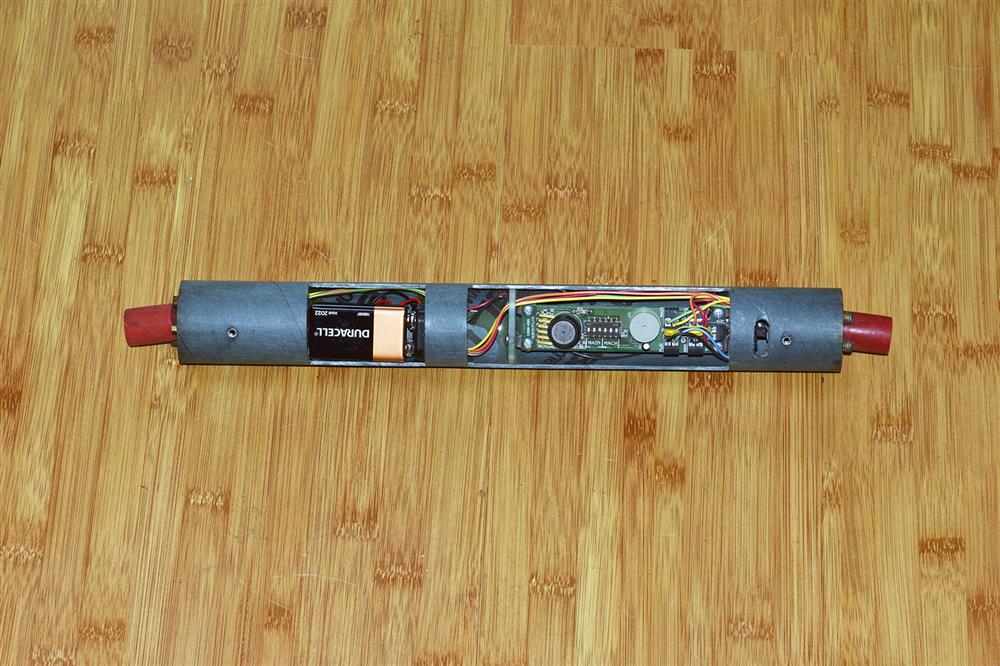
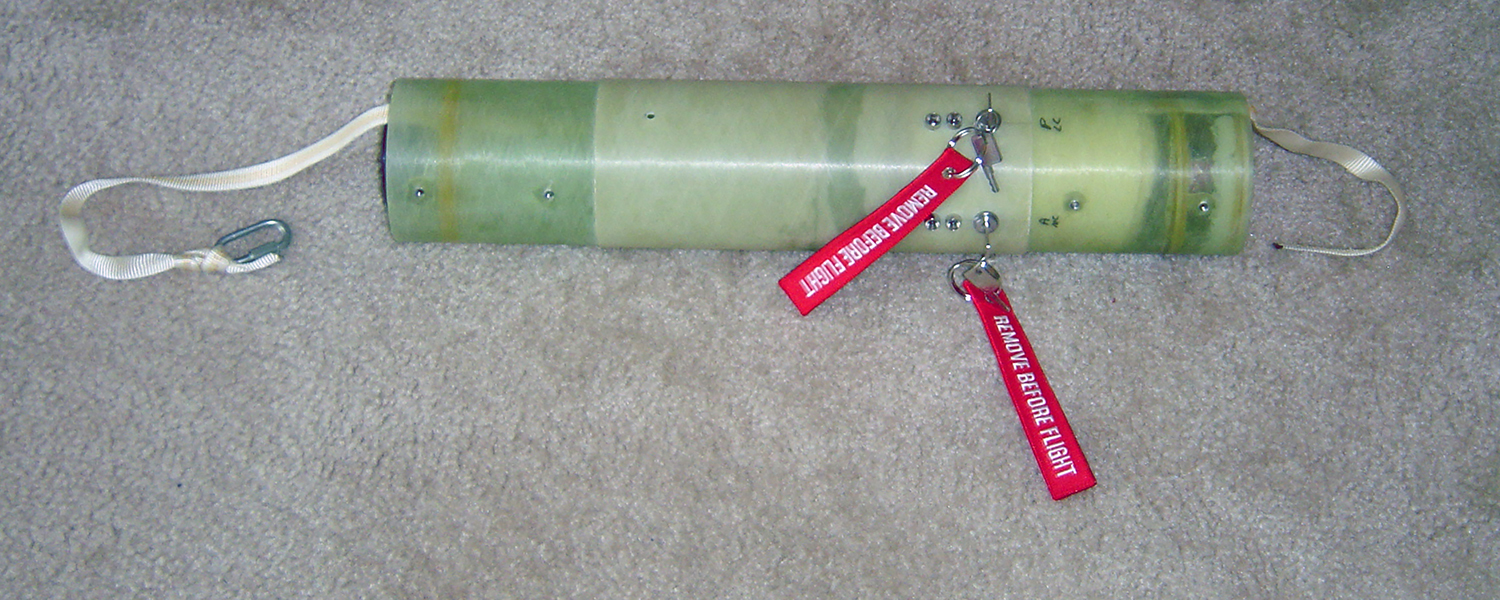
BOO, however, was pre-dated by a L3 rocket design that I did in 2002 where I had created a two piece 54mm e-bay in a 98mm airframe. The first section was removeable and has deployment posts on the bottom end only. The other end has connectors that plugged into mating connectors that are in the fixed section. The fixed section has indicator lights, batteries, arming switches, and the other set of deployment posts. The idea was to be able to re-use the expensive altimeter bay in other rockets.

I have always experimented and tried to improve my skills when building & flying rockets. When the Slimline motor retainers came out (sold by Giant Leap Rocketry), I used them exclusively for motor and electronic bay retention. In the earlier days, Giant Leap also sold a small 38mm bay that had a Slimline clip ring on the top and mounted through the delay charge well hole on a standard forward motor closure.
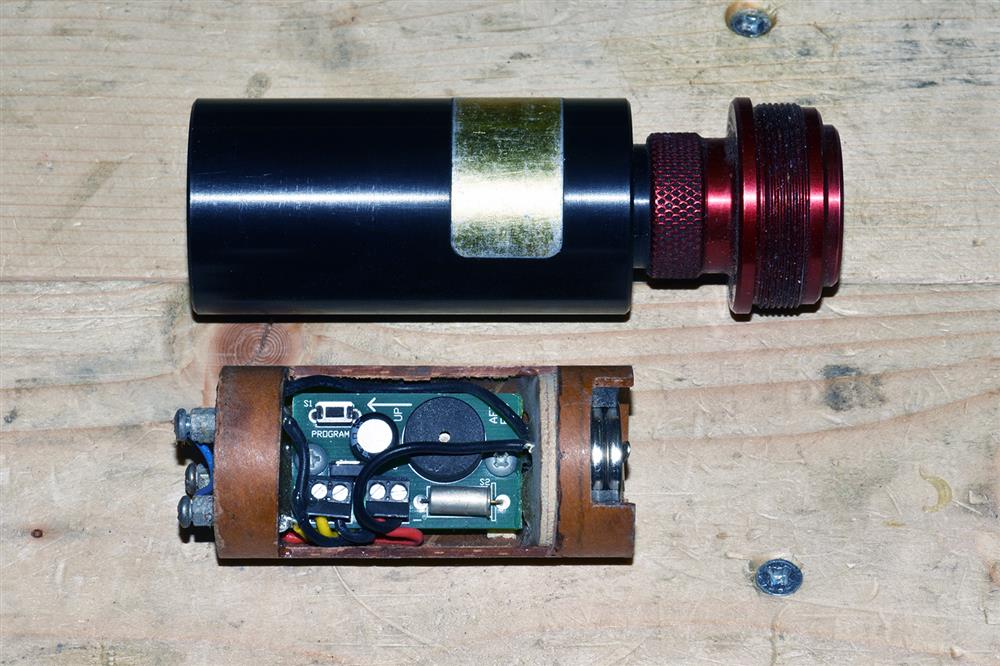
I designed a small module (quessing circa 2006) with a PerfectFlite MiniTimer3 powered by two 2032 coin cells . The four posts on top were connections to an electric match and a wire loop to turn the module on. I would turn the timer on, then "install" the motor at the launch pad. The timer was pre-set for whatever "motor ejection delay" I needed. It served reliably for some years.
2015
With the advent of affordable 3d printing, I have spent the last years developing and improving a series of components to allow for re-use, re-configuration, and reliablity. I hope you find components here that will enable you to take your rockets to a higher level.
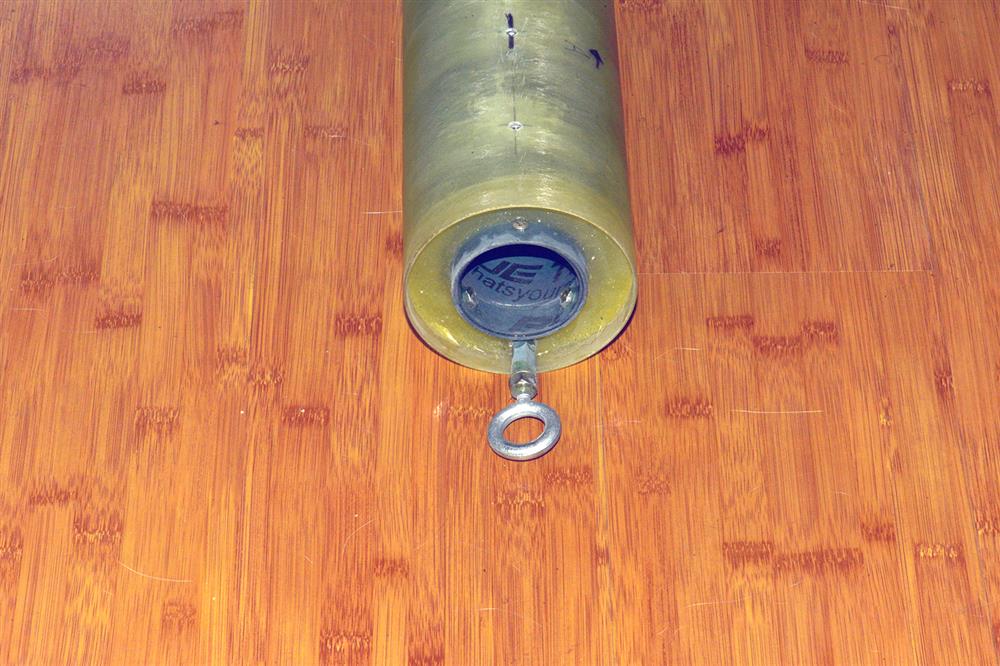
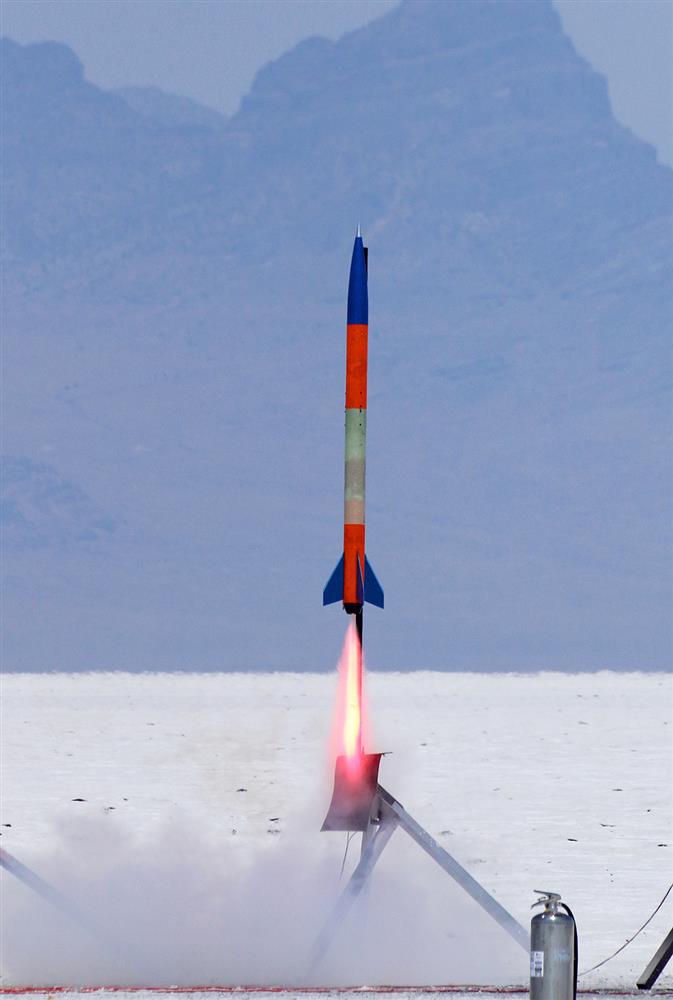
On a history note, this was a prototype bay for a MadCow Rogue4 fiberglass rocket (the altimeter has gone onto uses with the finalized parts here in the store) that I designed in 2017 for Hellfire 22 at the Bonneville Salt Flats (great venue and a great group of people - fly there if you can).
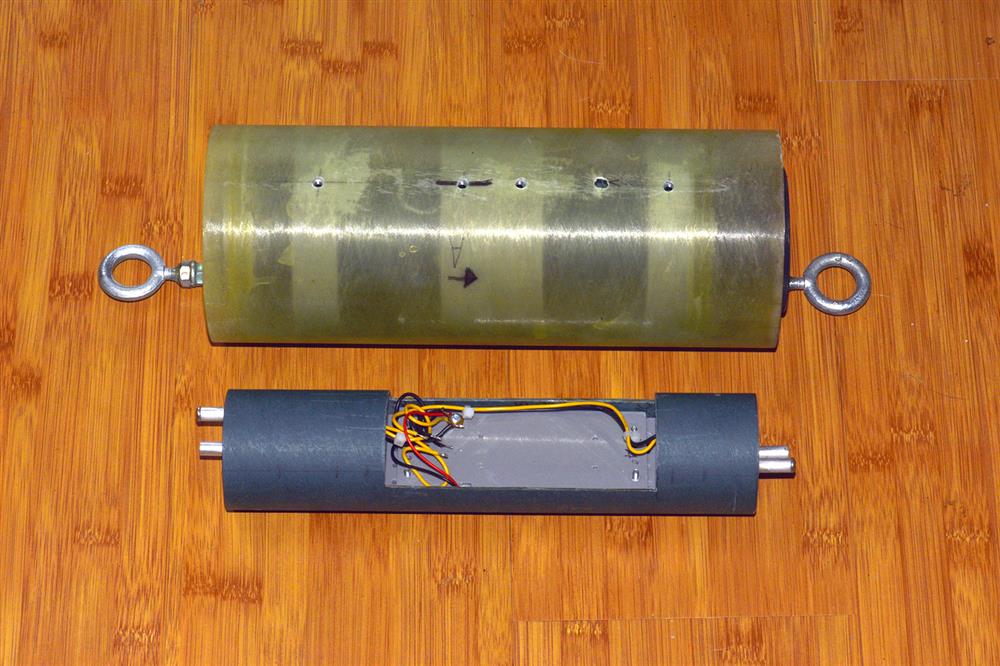
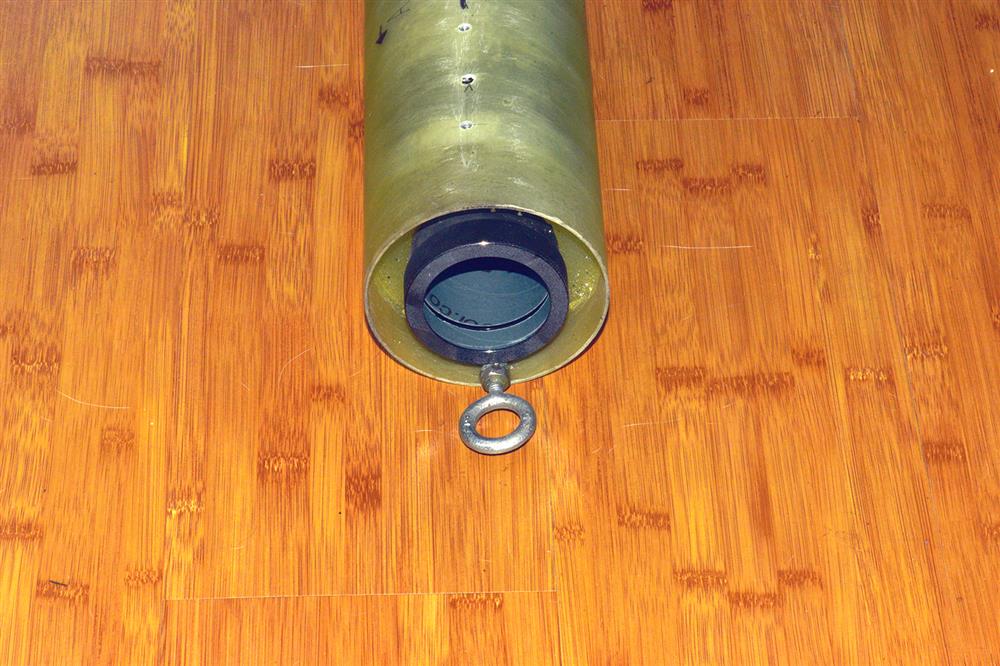
Of note, I love rocketry and would be glad to help you in your bay design if you have needs or other ideas beyond what I have available here. I will also customize components here if you have any special requirements. I only have three conditions for customized work - one, unless otherwise agreed to, if the final part is something other people would find useful, then I will put it up for sale here; two, the pricing for custom parts that I can sell will be comparable to the components here in the store; and finally, any custom work starts with a feasibility study to make sure the part can be fabricated. Sometimes, a single part may have to be made in two sections or is simply too large for the equipment that is being used to fabricate the part. Please contact me and we can discuss any requirements you have.
A quick note on 3D printing and functionality - the prices I have set for the items here in the store are much lower than what a 3D printing company would charge. First, this is a passion and not a job. Of course, I would like to be able to make enough money to fund trips to launches and continue supplying products to you. Keep in mind, I am not printing parts with a $10K 3d printer or are the parts going to be as pretty as an injection molded part. The prints I make are good and will function as intended. There may be small blemishes, light track marks where the plastic was extruded, etc. Every part I make gets trimmed, cleaned, and checked by me before packaging for shipment. If you find the quality not to your liking, please reach out to me and see if there are improvements I can make or to ask for a refund. I truly want you to be satisfied with what you purchase.
SMT Designs
Steve Thatcher
Kenmore, WA 98028 USA
Hours are 9am to 6PM PST Monday through Friday for phone calls. Please leave a message if I do not answer. Texts can be sent anytime and I will respond as soon as I am able to. Thank you!
(206) 794-1881
